A projector without the right screen is like a table saw without a blade, it’s not doing its job. You can own the sharpest 4K projector on the market, but if you’re throwing that image onto a white wall or a wrinkled bedsheet, you’re leaving performance on the table. The screen is where your projector’s picture actually comes to life, and choosing the wrong one tanks brightness, color accuracy, and viewing angles. This guide walks you through the types, features, and installation basics so you can pick a screen that matches both your space and how you actually watch movies.
Table of Contents
ToggleWhy Investing in a Quality Projector Screen Matters
Most people assume any white surface will work for projection, but material, finish, and construction directly affect what you see. A quality projector screen is engineered to bounce light uniformly, preserve image brightness (measured in gain), and maintain color accuracy across wide viewing angles.
Consider this: a projector throws 1,000 to 3,000 lumens at the screen, depending on the model. A wall absorbs and scatters that light unpredictably. A proper screen redistributes it intentionally. You’ll notice the difference immediately, darker blacks, sharper detail, and colors that don’t shift when you sit off to the side.
Beyond performance, a dedicated screen also protects your investment. Projectors aren’t designed to run continuously on drywall: the heat buildup from the reflected light can shorten the lamp’s life. A screen designed for projection manages that heat and diffuses it safely. You’re also getting a frame that keeps the image boundaries clean, which is harder to achieve with a painted wall or makeshift setup.
Types of Projector Screens and Their Best Uses
Fixed Screens vs. Motorized Options
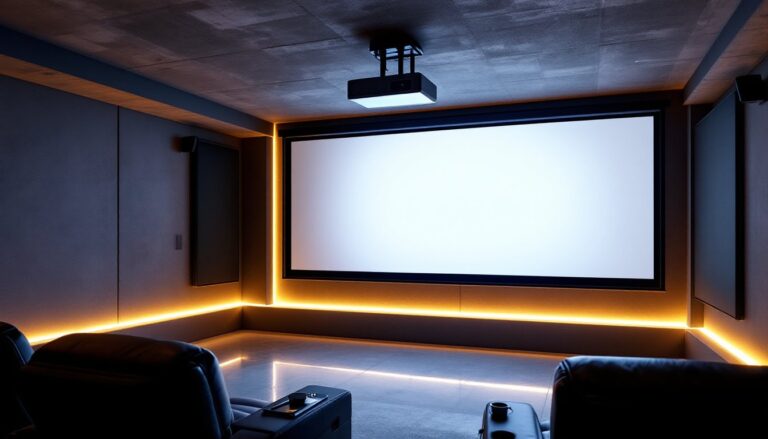
Fixed screens mount permanently to the wall or ceiling and don’t move. They’re straightforward to install, cost less, and have no mechanical parts to fail. If your home theater room is dedicated, you’re not swapping the projector setup out, a fixed screen makes sense. Just measure twice, mount once, and forget about it.
Motorized screens roll up or down on command (remote or wall switch). These shine if your room pulls double duty, maybe it’s a living room where you sometimes project movies, or a basement that needs the screen out of sight during the day. The tradeoff is price (roughly double a comparable fixed screen) and the small possibility of a motor failing. If you choose motorized, buy from a reputable maker and budget for occasional maintenance.
Material Types: From Matte White to Grey Surfaces
Matte white is the workhorse. It has a gain of 1.0, meaning it reflects light at roughly equal brightness across all angles. This is neutral, forgiving, and works with most projectors and rooms. If you’re unsure what you need, matte white is the safe choice. The downside is it won’t boost brightness if your projector is underpowered.
High-gain screens (1.2 to 2.5) amplify brightness by reflecting more light back toward the center of the room. Use these if your projector is under 2,000 lumens, your room has ambient light, or you’re sitting quite far from the screen. The catch: gain comes with a narrower “sweet spot.” Sit too far to the side and brightness drops noticeably.
Grey surfaces absorb some light but improve contrast by cutting room reflections. They’re ideal if you can’t fully darken your theater space or if you’re chasing cinema-like blacks. Grey screens work best with brighter projectors (2,500+ lumens) because they sacrifice some brightness for that contrast boost.
Most DIYers should start with matte white, 1.0 gain, it’s reliable and compatible with almost any projector and room setup.
Key Features to Consider Before Buying
Size and Aspect Ratio: Measure your wall space honestly. Screens come in standard sizes: 92″, 100″, 110″, 120″, and larger. Most home theaters use 16:9 (widescreen) for movies and streaming. Check your projector’s native resolution and aspect ratio to match. A projector throwing a 4:3 image on a 16:9 screen wastes space.
Brightness and Ambient Light: If your room has windows or can’t be completely darkened, you need more lumens from the projector and possibly a higher-gain screen. Test your setup during the day or with lights on if that’s realistic for your use. Dedicated dark rooms can get away with lower-gain, lower-brightness setups.
Viewing Angle: Check the screen’s specified viewing angle. Budget screens might only look good within a 45-degree cone: premium ones hold quality up to 70 or 80 degrees off-center. If your couch spans a wide room, wider angles matter.
Build Quality and Frame: Look for rigid aluminum or steel frames that won’t sag over time. Cheaper screens use plastic or thin metal that can warp. Check whether the frame accepts standard wall anchors and studs. If mounting to drywall alone, you’ll need heavy-duty anchors spaced every 16 inches.
Installation Type: Some screens mount on top of a frame (easier to replace the fabric later): others have the material bonded to the frame. Tab-tensioning systems keep fabric taut and wrinkle-free, reducing hot spots where light bunches up. This is worth the extra cost if you’re investing in a permanent install.
According to home technology reviews, the best home theater screens balance brightness, contrast, and durability. Spending $300 to $800 on a quality 100″ to 110″ screen with decent gain and a solid frame is far better than a $100 budget screen that looks blotchy after a few months.
Installation Tips for DIY Enthusiasts
Prep and Planning
Measure the wall from stud to stud and locate all studs with a stud finder. Screens are heavy, a 120″ can weigh 80+ pounds, so mounting directly into studs is non-negotiable for ceiling mounts. For wall mounting, you can use studs plus heavy-duty toggle bolts or lag anchors rated for 100+ pounds each if studs aren’t conveniently placed.
Check that your projector mounting (ceiling or wall) is already secure. If the projector moves even slightly due to a loose mount, your image will shift and driving you and your guests crazy.
Mounting Steps
- Locate studs with a stud finder and mark them in pencil. For a 100″-plus screen, plan for at least three mounting points along the top, two studs plus the center if needed.
- Use the right hardware. Lag bolts (1/4″-diameter, 3″ long) into studs are ideal. If using toggle bolts, verify they’re rated for your screen’s weight and the load per anchor (usually specs come in the instructions).
- Drill pilot holes slightly smaller than your bolt diameter to prevent splitting the frame. Wear safety glasses, metal shavings or debris will fly.
- Mount the frame level. Use a 2-foot level and shim with washers if needed. An unlevel screen looks terrible and stresses the mounting hardware unevenly.
- Tension the fabric if your screen has adjustment tabs. Loosen them slightly, stretch the material taut by hand, and re-tighten in a crisscross pattern, like tightening lug nuts. This removes wrinkles and hot spots.
Common Mistakes
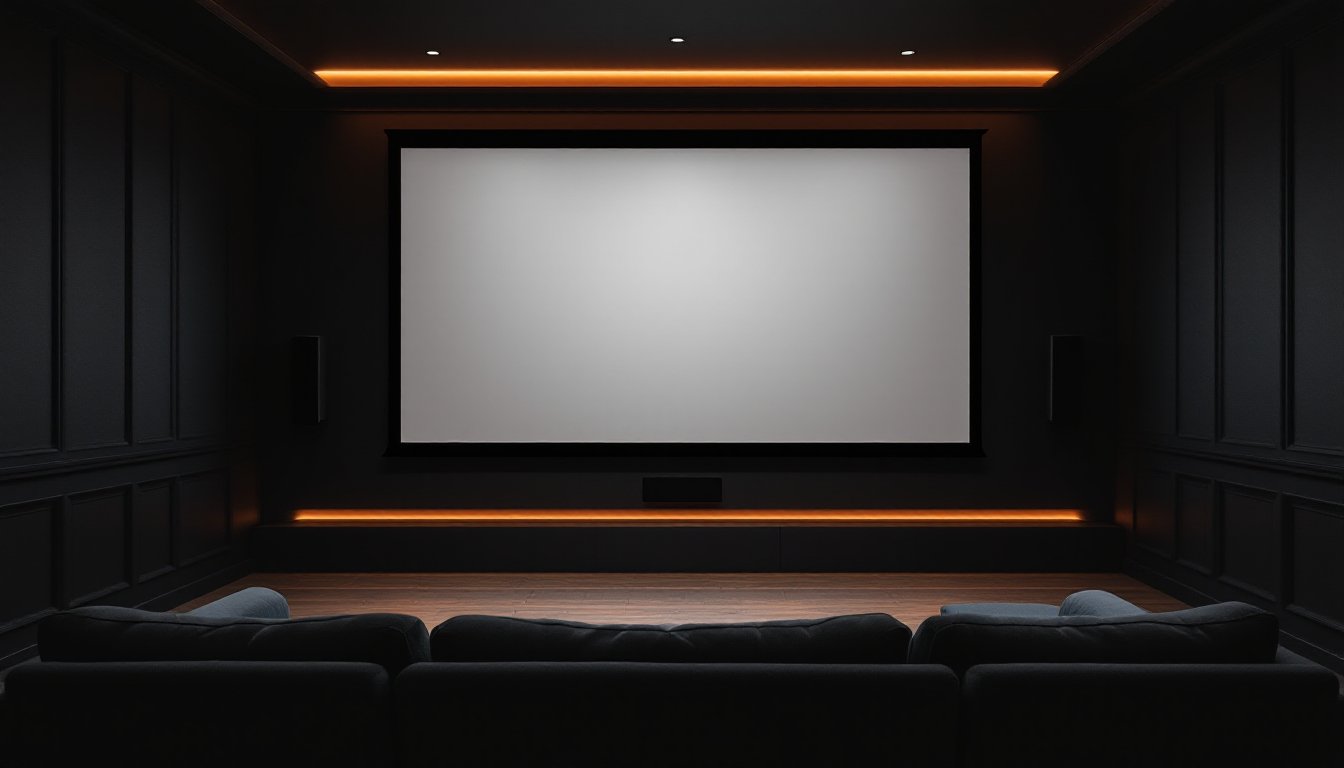
Don’t mount the screen too high. The center should be at or slightly below eye level when seated. Necking up at the screen causes fatigue and makes the image look smaller than it is.
Don’t forget ventilation behind a fixed screen. Leave 2 to 3 inches of air space so heat from the projector’s reflected light can escape. Trapping heat shortens lamp life.
If your room is small or you’re uncertain about spacing, test the projection first using a temporary white sheet. This lets you dial in throw distance, screen size, and placement before you commit to mounting. Popular platforms like CNET often include installation guidance for specific models, check the manufacturer’s manual too, as it’s your legal reference if something goes wrong.
For structural concerns, adding ceiling mounts where none exist, drilling through exterior walls, or running electrical for motorized screens, bring in a professional. Mistakes here cost far more to fix than hiring someone upfront.
Conclusion
Choosing the right projector screen is about matching your space, projector, and viewing habits. A solid matte white, 1.0-gain screen in the right size and mounted level will transform your image. Spend a bit more on frame quality and tension systems, follow the installation steps carefully, and you’ll have a home theater centerpiece that works reliably for years. Don’t skimp on this part of the build, the screen is where your whole system comes together.